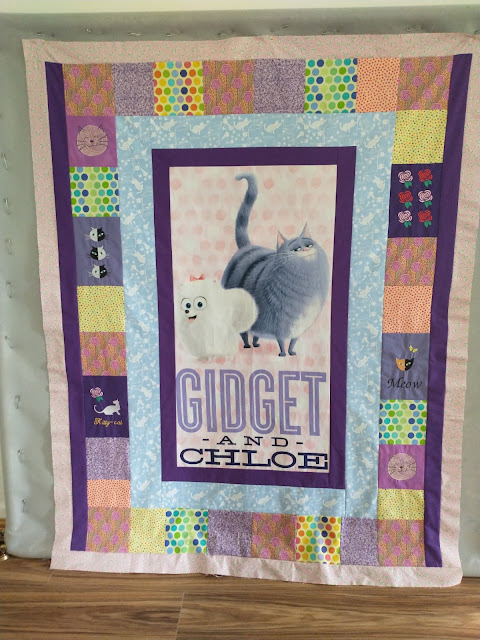
Thought I would write a bit about the most recent gift quilt I have been working on. It is a Panel quilt, the center panel is "Gidget and Chloe" from "The Secret Life of Pets" Movie. I purchased the panel a while back, with the thought of practicing my free motion quilting on it, and it just makes sense to make it into a quilt too!
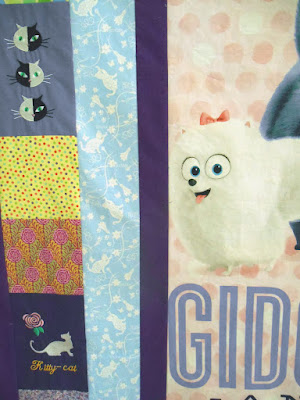
I'm making this quilt for a young cat lover, so I added some cat embroidery on purple fabrics which coordinate with the center panel. I chose various shades of purple for variety. The embroidery was completed using my Brother SE2000 machine and my Bernette B79 machine. I added the Brother machine to my studio this past June, so I have been trying out its features. I used designs from Bernina and Brother for the embroideries. I also used a Sulky Yarn Ball Cat embroidery on the quilt - it is in the top left and lower right borders. I added text to some of the embroideries and combined flowers and butterfly designs with the cats. The pink border has a small butterfly print on it.
 |
| Sulky Yarn Ball embroidery design on quilt |
 |
| Quilt detail, rose embroidery |
 |
| Quilt detail, Cat Face embroideries |
 |
| Detail on Quilt, Kitty-Cat embroidered block |
I purchased a light blue cat print to add to the quilt - I wanted to keep the quilt from becoming a pink and purple only quilt! The light blue print helped me extend the color story of the quilt. I then was able to add fabrics in complimentary colors that go with pink, blue and purple.
I watched a fabric presentation recently where a quilt designer mentioned that you shouldn't pre-wash your fabric panels, because they can stretch out of shape. I discovered this is true, when I went to work with my panel. I had to trim the panel down, then I added purple strips around the edges to restore the borders.
Tip: I actually used a tip I heard about many years ago - for fabrics, there are always 2 sides. The dark purple fabric I used for the border had a print on one side - I liked the solid reverse side better, so I used it that way! I think this is the first time I have used this tip!
I picked out a lot of my fabrics intuitively - I thought why am I choosing polka-dots from my stash? Then I realized the center panel had a polka-dot pattern in the background - so it made sense! The polka-dot prints are Benartex fabrics I have had in my stash for a while, so I am glad they are finding a new home on this quilt.
This was a fun quilt top to piece together - I started with 6 x7 inch rectangles for the embroidery, and added 6x6 inch squares. When it didn't fit together, I just cut some of the squares to fit and let it go together. A fun, no stress process!
There was a bit of puckering around the embroideries, but when I began to quilt around them, it is disappearing. The quilt is on the frame, and gradually getting finished. It is a fun process!
There was a bit of puckering around the embroideries, but when I began to quilt around them, it is disappearing. The quilt is on the frame, and gradually getting finished. It is a fun process!
I hope you enjoy hearing a bit about this quilt! I will share some photos when it is quilted and completed too.
Many Blessings to you!
Denise A. Buchwalter-Losczyk

